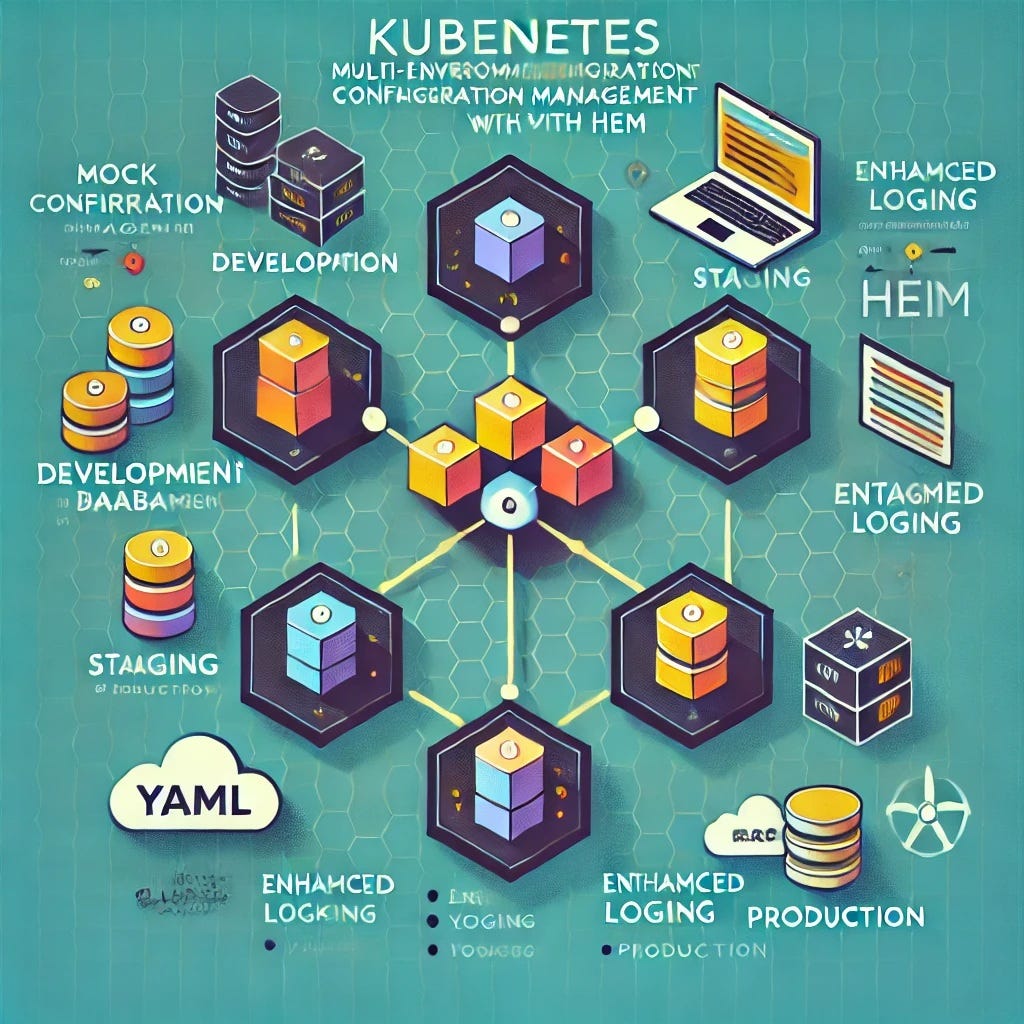
Multi-Environment Configuration Management with Helm
Managing applications in Kubernetes across multiple environments—such as development, staging, and production—can quickly become a challenging task. Each environment often requires specific configurations, and manually maintaining separate YAML files for these environments can lead to errors, inconsistencies, and inefficiencies. This is where Helm comes in. Helm, the package manager for Kubernetes, simplifies application deployment by allowing you to use templated configurations, which can be customized for different environments using values files. In this tutorial, we will explore how to use Helm to streamline multi-environment configuration management. By the end, you will know how to create reusable Helm charts, define environment-specific configurations, and deploy applications seamlessly across your Kubernetes environments. This tutorial is designed to help you establish a robust workflow that improves both efficiency and reliability in managing Kubernetes applications.
What is Helm?
Helm is often referred to as the package manager for Kubernetes. It simplifies Kubernetes application deployment by allowing you to define application resources, such as Deployments, Services, ConfigMaps, and more, using templated YAML files called Helm charts. Helm uses a values.yaml file to inject configurations into these templates, which makes it easy to override defaults based on your needs.
A Helm chart consists of a directory of files that define a Kubernetes application. This includes pre-configured templates, default values, and metadata about the chart. By parameterizing the templates, Helm enables you to write generic configurations that can be easily customized for any environment.
Why Multi-Environment Management Matters
In real-world applications, different environments often have unique requirements:
Development: Might require fewer resources, use a mock database, and expose debugging tools.
Staging: Mimics production but may include enhanced logging for testing purposes.
Production: Requires optimized configurations with strict security and performance constraints.
Manually managing separate configuration files for each environment can lead to:
Configuration Drift: Differences between environments that cause unexpected behavior.
Error-Prone Processes: Mistakes caused by manual editing.
Inefficiencies: Time wasted on copying and updating files for different environments.
By leveraging Helm, you can centralize and automate your configuration management. Using templates and environment-specific values files, you can eliminate redundancy and reduce the risk of errors, while ensuring consistency across environments.
We’ll guide you through the process of setting up multi-environment configuration management with Helm. You’ll learn how to:
Create a reusable Helm chart for a sample application.
Define environment-specific configurations using values files.
Deploy the application to multiple Kubernetes environments (e.g., dev, staging, prod).
Manage updates and rollbacks efficiently across environments.
Prerequisites
Before you start, ensure you have the following:
Basic Knowledge of Kubernetes: Understanding of core concepts like pods, deployments, and services.
Helm Installed: Ensure Helm is installed on your local machine. You can install Helm by following the instructions on the official Helm website.
Access to a Kubernetes Cluster: You can use a local setup like Minikube, or a cloud provider such as Google Kubernetes Engine (GKE) or Amazon Elastic Kubernetes Service (EKS).
This guide is designed to provide a hands-on experience, so you’ll get to create, customize, and deploy your Helm charts step by step. By the end, you should have a clear understanding of why Helm is the tool of choice for managing complex Kubernetes configurations across multiple environments. Let’s dive in!


